Pages

Wednesday 21 May 2014

Mango and Oreo Wafer Muffins


This lazy mummy pretty much depended on ready-mix to make muffins most of the time. But when I came across Kenneth Goh's (Guai Shu Shu) easy peasy basic muffins, I made it one of my to-do list. It just looked so simple!

This morning since I woke early, decided to make the muffins as I had promised a student to bake some as a reward for doing well in his test. My mum bought me some mangoes over the weekend and I had some oreo wafers that my neighbour gave my children so decided to add these into the muffins.


Turn out the muffins were terrific! Sweet, addictive and delicious! On top of it, it was really easy. No more ready-mix muffins from this mummy again!


The only grumble I have would be the mango taste is not quite as outstanding as I wanted. Oh well, practice makes perfect!

Thanks Kenneth Goh! Hope I did justice to your recipe! :)


Here's the recipe...

Mango and Oreo Wafer Muffins (Makes 9 - 10)
Basic muffin recipe from Guai Shu Shu

2 eggs
170g self-raising flour
100g cooking oil or melted butter
100g full-cream milk
80g raw sugar
100g mangoes, mashed
2 sticks oreo wafers, crushed
1/8 tsp baking soda
1/2 tsp vanilla essence


Direction

Pre-heat oven to 175 degree Celcius.

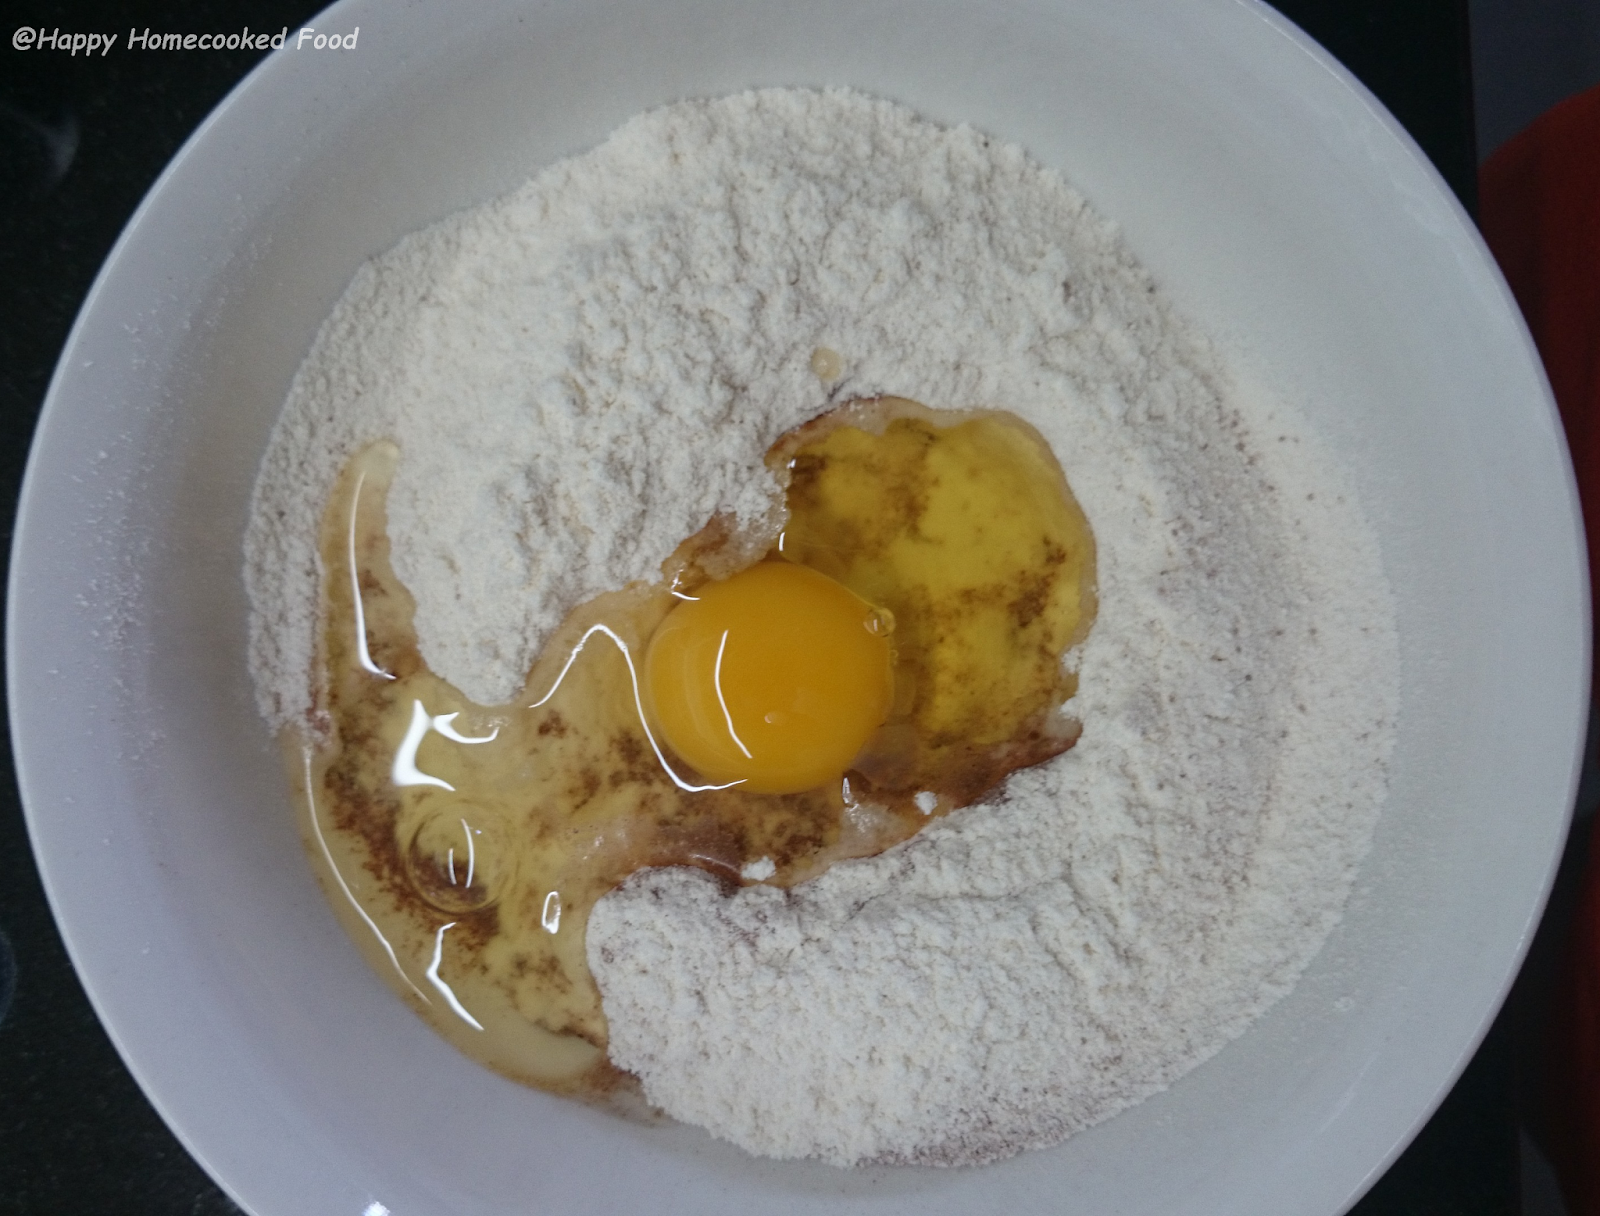
In a big mixing bowl, combine eggs, oil, sugar and milk. Use a hand whisk and whisk until well combined.


Add vanilla essence and sift in flour and baking soda. Whisk until well combined.


Add in the mangoes and crushed oreo wafers. Mix well.


Put mixture into the muffin tray (lined with paper muffin cups) until 90% full and bake for about 20 mins or until inserted skewer comes out clean.


This is a very simple muffin recipe that will yield delicious muffins that children will simply adore! Hope you will enjoy this recipe as much as I did.


Tuesday 20 May 2014

Fried Koko Noodles


My elder son has NAFTA test today and had to take a light lunch. So I decided to cook some noodles for all since the little one has been asking non-stop for noodles. This is a dish which I have not cooked for a long time. It is a very easy dish using koko noodles (可口面) or better known as maggie mee. Ingredients are easy as well, the ones I used are generally ingredients that my children like.

You can also use vegetables like bean sprout, long beans and meat like minced pork, ham, diced chicken etc. The options are endless. So basically this is a very versatile dish, ever-ready to adapt to your palate and yet still taste fantastic!


A wonderful dish to whip up on a busy day and yet still wanting to do some cooking or a simple lunch for the family.

Here's the recipe...


Fried Koko Noodles(Serves 3 - 4)

3 pieces of instant koko noodles (maggie mee)
3 cloves of garlic, minced
1/2 small red onion, diced
5 hotdogs, cut into small chunks
1 1/2 carrots, cut into thin strips
4 imitation crab sticks, cut into small chunks
10 fresh shitake mushroom, sliced
3 eggs
2 tbsp oyster sauce
salt and pepper to taste
3/4 cup hot water


Directions

In a pot of boiling water, add the instant noodles in and cook for a min or less. Do not cook too thorough as you are frying the noodles later. Dish out and set aside.


Heat the frying wok and add some cooking oil. Scrambled the eggs and set aside. 


In the same wok, add some oil and when hot, saute the garlic and onion until fragrant.

Add in the carrots and stir-fry for a min or two. Add the hotdogs and shitake mushrooms and stir evenly. Add  the crab stick and mix evenly the ingredients.

Add the instant noodles, oyster sauce, salt and pepper (to taste) and  water. Stir evenly ensuring the noodles dun stick to the wok. Add more water as and when needed.


Cook the noodles for another 7 mins, stir constantly to prevent the noodles from sticking to wok.

Add the eggs and mix evenly.


Serve with belacan chili.


Tuesday 13 May 2014

Honey Mustard Chicken Burger with Caramelized Onions and Creamy Mushroom


The hub is going overseas for a couple weeks due to work and the elder kid is studying hard for his Science examination, so I wanted to make something special for them to give them some encouragement.

Both of them like a little heat in their burgers and sandwiches. In fact whenever we are in Subway for a meal, the two of them never fail to order their subs with honey mustard sauce and sweet onion sauce. So I decided to bring the flavors to them at home - Honey Mustard Chicken Burger with Caramelized Onions. Then I become greedy and decided, why not also add in creamy mushrooms for the vegetable intake! Haha...

Here's the recipe...


Honey Mustard Chicken Burger with Caramelized Onions (Makes 5-6 burger patties )

To make the patties:

500g minced chicken
1 egg
4 tbsp honey mustard sauce
3/4 cup panko bread crumbs
1 tbsp dried parsley (can also use fresh finely chopped parsley)
1 garlic clove, peeled and finely chopped

For the burger bun:

5-6 burger buns
Caramelized onions
Creamy mushroom
5-6 slices cheddar cheese
Butter to spread
Butter-head lettuce (optional)


Directions

In a mixing bowl, combine all the ingredients for the patties. Using hands or a spoon, mix until well combined.


Take a small portion of the mixture and shape into a patty and set aside. Continue the same until all used up.

In a heated frying pan, add some cooking oil. When the oil is heated, add the patties into the pan. Cook each side approx. 5-7 mins, making sure it is browned before flipping.


Dish up the patties and drain off the oil using a kitchen towel.

Take a buttered burger bun and place one slice of cheese and the creamy mushroom.

Put a patty on top of the bun. Top with caramelized onions and lettuce (if desired).


The hub and son loved the burger. The hub even complained that the caramelized onions not enough! A sinful and filling meal that is simple to do and great in taste!

Caramelized Onions


Caramelizing onions brings out their amazing natural flavor. The process is very simple and they are fantastic on sandwiches, burgers, pizzas, over pastas, in soup, on meat, fish and egg dishes. Best to be used to adorn appetizers platters as well. Many a times, they simply becomes an important part of a dish that just gives that oomph! feeling.

You can caramelize any types of onions. Some just caramelize more quickly than others.

Here's how to do it...

Caramelized Onions
Recipe adapted from Allrecipes.com

1 medium onion
3 tbsp cooking oil or butter
a pinch of salt
a pinch of black pepper (Optional)
a pinch of sugar (Optional)


Directions

Slice the top off of your onion. Cut into half and peel it.

Slice the onion into half-rings. The thickness of the slices is not important although the thinner slices will cook faster. If you prefer something rustic look and feel, make the slices very thick.

Heat a large saucepan or frying pan with the oil or butter until medium-high temperature. Note that butter burns more easily so make sure the pan doesn't get too hot.

Add the onions to the pan and stir until the onions are coated with the oil.


Add a pinch of salt to season the onions and at the same time speeds up the caramelizing process. If you like, add the pepper and sugar at this point as well.

Continue stirring. The onions' color will start to turn darker after a minute or so and may begun to stick a little to the bottom of the pan.


If the onions are sticking to the bottom too much, add a very small amount of water, broth or wine to deglaze it.

Continue until the onions reached the color, flavor and texture you desire.


Monday 5 May 2014

Dark Chocolate Cream Cheese Cupcakes


If you have seen my last post, I did a cake with cream cheese frosting for my little one's birthday. Followed the original recipe's measurements and came out with extra cream cheese frosting. So I was having a headache thinking of what I can do with the cream cheese frosting and I made some dark chocolate drink (bought from Value Shop) to help me think when an idea hit me - combine the dark chocolate mix and cream cheese frosting and make cupcakes!


Results - a yummy and rich cupcake that is not too sweet that is soft on the inside. (Pardon me on the ugly looking cupcakes though, did this in a rush before sending little one to school.)

Best thing, my leftover cream cheese frosting gets "recycled" and don't go to waste. :)

Here's the recipe...


Dark Chocolate and Cream Cheese Cupcakes (makes 6 cupcakes)

1/2 cup all-purpose flour (plain flour also ok)
1 tsp baking powder
1 egg
2 tbsp milk
1 1/2 tbsp vegetable oil
1 packet of dark chocolate drink mix
1/2 cup cream cheese frosting


Directions

Pre-heat the oven to 180 Degree Celcius. Line a 6-pc muffin pan with papper muffin cups.

In a medium mixing bowl, sift the flour, baking powder and dark chocolate mix together.


Make a well in the centre and add egg, oil and milk and mix until well incorporated.


Add in the cream cheese frosting and mix well.


Scoop the mixture into the muffin cups and bake for 15 mins or until toothpick inserted comes out clean.


This is a very simple recipe and I hope you will enjoy it. I am contemplating to try this again using steam method, but that will be another post.

Happy baking!

Sunday 4 May 2014

Cream Cheese Frosting

I wanted to do something special for my little one's birthday and in the end decided that doing a birthday cake would be just perfect.


Nothing too complicated and time-consuming, this lazy mummy decided to use cake mix for the cake and got a Devil's Food cake mix. With a chocolate cake, cream cheese frosting came to the mind. Feeling lazy still, I stepped into Phoon Huat, thinking of getting a can of ready-made cream cheese frosting and was blankly told by the staff that they do not sell canned frosting. I was like "What do I do then?" and the staff promptly suggested I do my own frosting. This set me thinking and I bought the cream cheese home and started researching for cream cheese frosting recipes online.

There were tons of recipes that called for different ingredients and amount. In the end, I settled for a recipe that I was comfortable with and the end results was heavenly! My elder son stood beside me when I was doing the frosting and kept stealing mouthfuls from my mixing bowl.

This is one frosting recipe that I definitely will keep and use it again. Though I shall warn that my version is not as sweet as the original recipe because my family do not like sweet stuff. It has a nice velvety feel that scream cheesecake all over. So if you are one cheesecake lover, this frosting will go perfectly well with your chocolate cake, carrot cake, banana cake, pumpkin cake, on cookies or between cookies.


No regrets from this mummy to spend slightly more time prepare the frosting, definitely better than those that comes from the can!

Here's the recipe...


Cream Cheese Frosting (Makes 3 cups)
Recipe adapted from Allrecipes.com

500g cream cheese, softened
120g unsalted butter, softened
1 cup (125g) sifted caster sugar
1 tsp (5ml) vanilla extract


Directions

In a medium bowl, cream together the cream cheese and butter with a electric mixer. Start on low speed for approx. 30 seconds and increase to medium and mix until creamy. Mix in the vanilla and gradually add in the caster sugar. Continue mixing until sugar fully incorporated into the frosting.

Store in fridge after use.


Note: 
Amount of sweetness can be adjusted according to your taste. However, please note that the frosting may become more "watery" when more caster sugar is added. 

If you find the frosting too thick, you can add some full-cream milk (2 tsp at a time) and incorporate it in with the mixer.

Thursday 1 May 2014

40 mins Spicy Tuna Mayo Buns

It is a ritual for me to go onto Facebook everyday to browse through dishes done by others and salivate. It is to the point that the hub has begun asking "So what's new today?" or "What's the latest food craze" But the hub and the in-law has commented that I have started to experiment more on food recently (Which I think the hub is secretly happy cos I'm not doing net-shopping as often as before.)

So recently the craze was to do bread and in fact a 40-min bread. Unbelievable as it seems, I began seeing posts by posts of others trying out the recipe. Is it really workable? I ask myself. So I went out to buy the ingredients and started doing it one late night after the kids were asleep. Turn out, the bread were fantastically easy to make and soft even on the next day! The hub and the kids loved the bread and asked me to do more the next time.


That made my day.

To make this wonderful and easy bread, here's the recipe.


40 mins spicy tuna mayo buns (Makes 9 - 12 buns)
Recipe adapted from Domestic Goddess Wannabe

1 cup plus 2 tbsp (280ml) warm water or milk
1/3 cup (83 ml) oil
2 tbsp (16g) instant yeast or active dry yeast
1/4 cup (56.25g) sugar (I used raw granulated sugar)
1 1/2 tsp (9g) salt
1 egg
3 1/2 cup (476g) bread flour
1 can of spicy tuna mayo

Directions

Heat oven to 220 degree Celsius.

In your mixer bowl combine the water, oil, yeast and sugar and allow to rest for 15 mins. Using your dough hook, mix in the salt, egg and flour.

Knead with hook until all incorporated and dough is soft and smooth. This will take a few minutes. The dough will be sticky.

Oil your hands and transfer the dough to your oiled workstation and knead it one to two times and it will become easy to shape. If the dough is too wet, add a little flour and knead a few more times.

Form dough into 9 - 12 balls (Depending on how big a bun you want). Flatten each ball with a rolling pin and add 1 tbsp of spicy tuna mayo and seal the dough. Place the buns in a greased  9 x 13 pan and allow to rest for 10 mins.

Glaze with egg wash . Bake for 10 - 12 mins or until golden brown.